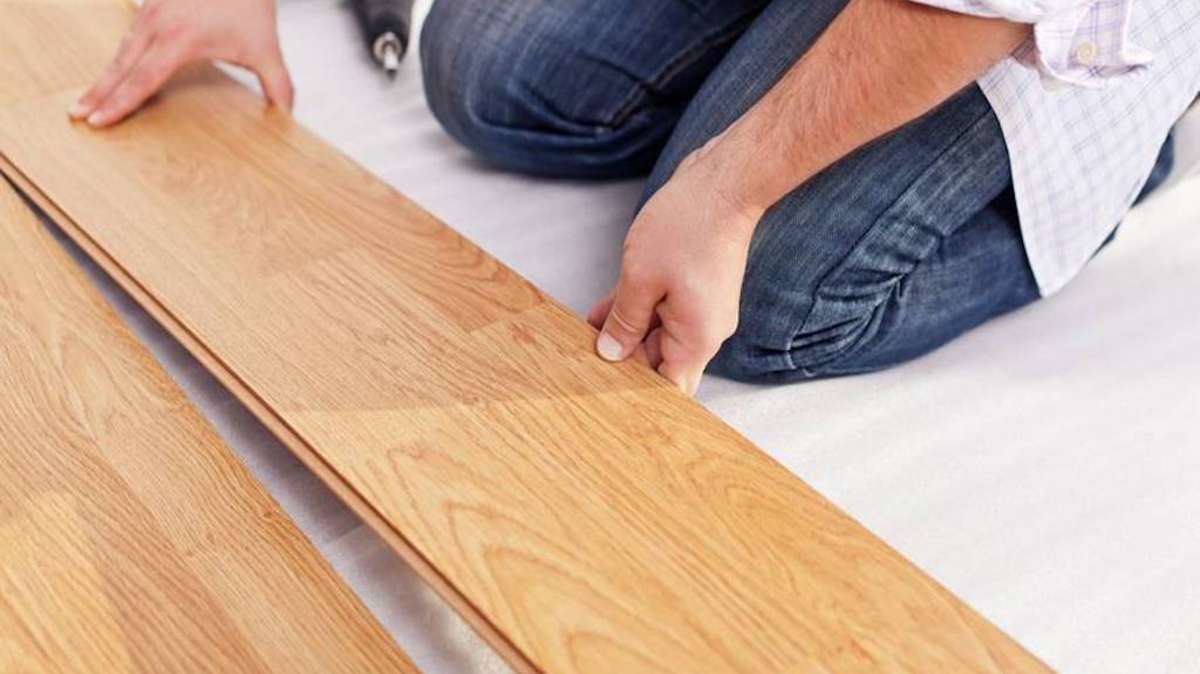
Step 1: Make Your Floorboards Sound
Before contemplatiing laying hardwood flooring its very important your existing floor forms a strong base for a new installation. One of the most common problems encountered with old floorboards is that they may not be completely flat. In this instance, if you have the money to spend, then you may wish to sand down the whole floor to ensure it’s level. Most floors will tolerate a 3mm discrepancy across 2 metres. If you have any loose boards, simply nail them back into place.
Step 2: How Thick Is Your Flooring? Do I Need Underlay?
Look to buy hardwood floor boards that have a thickness of around 19mm to 20mm, a 18mm thickness is required for a load bearing floor. Solid hardwood boards need to be attached to the base every 200-300mm. However, most standard floor joists are around 400mm apart, so it can be difficult to attach your boards securely to the existing joist. In these instances you may wish to lay a chipboard or thin plywood underlay to allow you to create a secure and solid base for your new installation. This is a very important point to note, particularly as different manufacturers may recommend specific types of underlay for their hardwood flooring. Always check what’s best when you make your purchase.
Step 3: Choose A Fixing Method
Most installers will tell you that the best method of fixing new oak floorboards to an existing hardwood floor is the secret nailing or screwing system. This is where you hammer nails at a 45 degree angle into the tongue of each board securing it in place. Alternatively use a specialist nail gun designed for fitting wood flooring. The nails and screws are hidden from view by the groove of the adjoining board. Whilst we would not recommend using generic wood screws for this job, you can buy some short screws, such as the Tongue Tite brand, which have been specially designed especially for this purpose. The advantage of using screws over nails is that they’re more effective at holding your floorboards in place over time.
Step 4: Spacing
Leave your solid hardwood flooring in the house for at least seven days prior to installation. This will give it a chance to acclimatise to the environment, allowing it to expand with the ambient moisture to its natural size. Leaving an extension gap around the edge of the room about half an inch to allow the expansion and contraction of the flooring. Special installation kits can be purchased that come with spacers to place round the edges of the floor to ensure the growth gap between your walls and flooring is maintained at all times during the fitting process.
Step 5: Where To Start
Lay boards at right angles to your existing floorboards – otherwise you may get an unpleasant waving effect in your new floor. Begin adjacent to the longest wall that sits at right angles to the existing floorboards, about 2ft away from the wall. Calculate how many whole boards are required to fill this distance, taking into account the spacing for possible growth, and mark a line down the floor with chalk before laying your first board.
Step 6: Subsequent Rows
Try to make the pattern of your boards random as possible, avoiding mirroring the arrangement on subsequent rows or using the same pattern on each individual row as this will impact the overall strength of the floor. This may require you to be a little creative with your cuts, but the end result will definitely be worthwhile. A random pattern across the floor is not only stronger than a regular arrangement, but it’s also more aesthetically pleasing too.
Step 7: The Final Board and Skirting Boards
Work the final board into place using a soft mallet as it may not be possible for you to get your hammer, nail gun or screw drill into the final gap here for fixing. When this is in place you can remove all the spacers from the edges of your new hardwood floor and begin to fit skirting boards to cover the growth gap. It should be possible to re-use any boards you removed for re-installation, or if desired you can add new skirting boards and beading. Now sit back and enjoy your new floor.

